DIY Pedicure Tips: How to Use Toenail Clippers Like a Professional
Achieving a salon-quality pedicure at home requires mastering the use of toenail clippers. Start by selecting high-quality clippers with sharp, curved blades for clean cuts. Proper preparation is essential: soaking your feet softens the nails and cuticles, making the trimming process smoother and more precise. Trim your nails straight across to prevent painful ingrown toenails. Handle cuticles carefully to maintain nail health. Follow these tips to achieve a flawless finish at home.
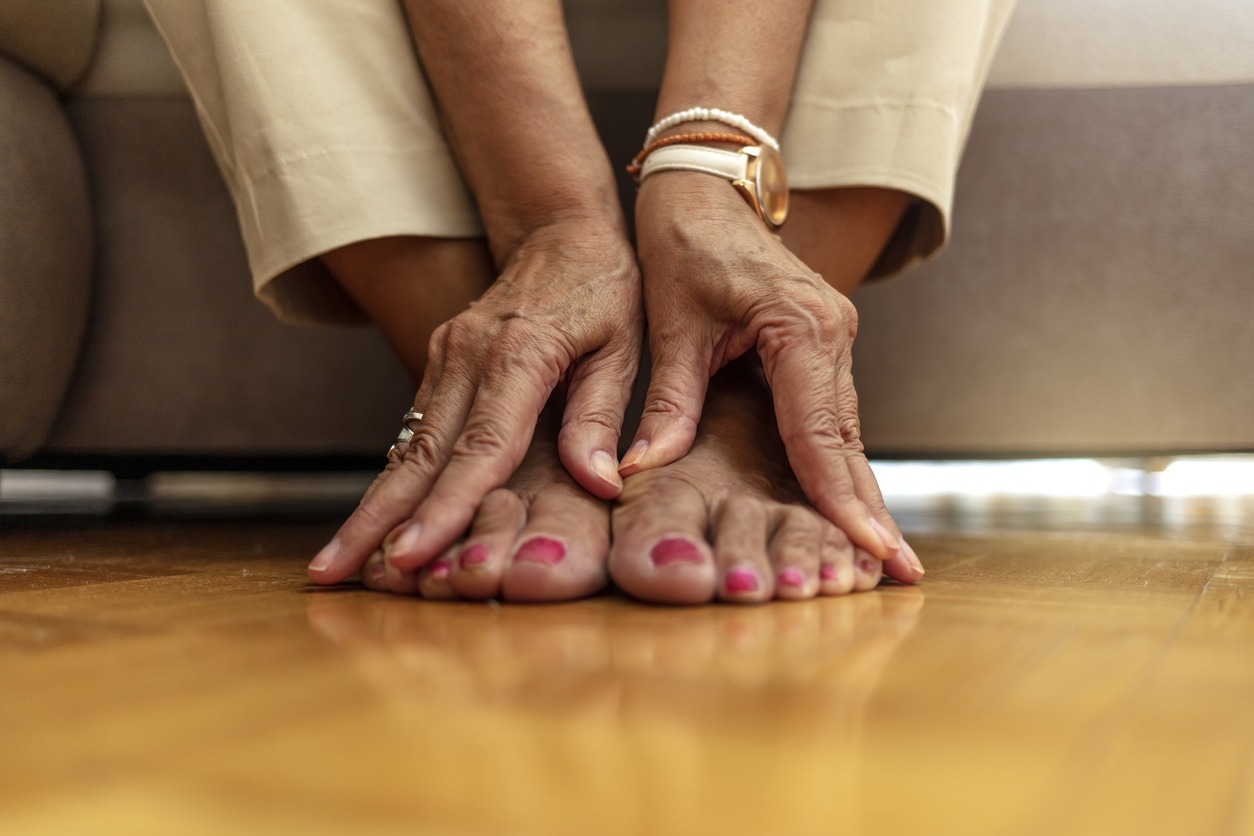
Importance of Toenail Care
Proper toenail care is essential for preventing infections and other foot issues. Regular and correct use of nail clippers is a key step toward healthier feet. Always trim your toenails straight across to help prevent painful ingrown toenails, which can lead to infections if not properly managed.
Foot hygiene complements toenail care. Regular trimming with quality nail clippers reduces the accumulation of dirt and bacteria under your nails, lowering the risk of infections and minimizing foot odor. Keeping your toenails at an optimal length also reduces the likelihood of them breaking or splitting, which can be both uncomfortable and unsightly.
Establishing a daily routine that includes inspecting your feet is crucial. This practice helps you catch potential issues early, ensuring timely treatment and maintaining overall foot health. By integrating these habits into your regular foot care regimen, you are not only keeping your feet looking good but also actively preventing numerous problems. A little attention to detail with your nail clippers can significantly enhance foot hygiene.
Choosing Quality Clippers
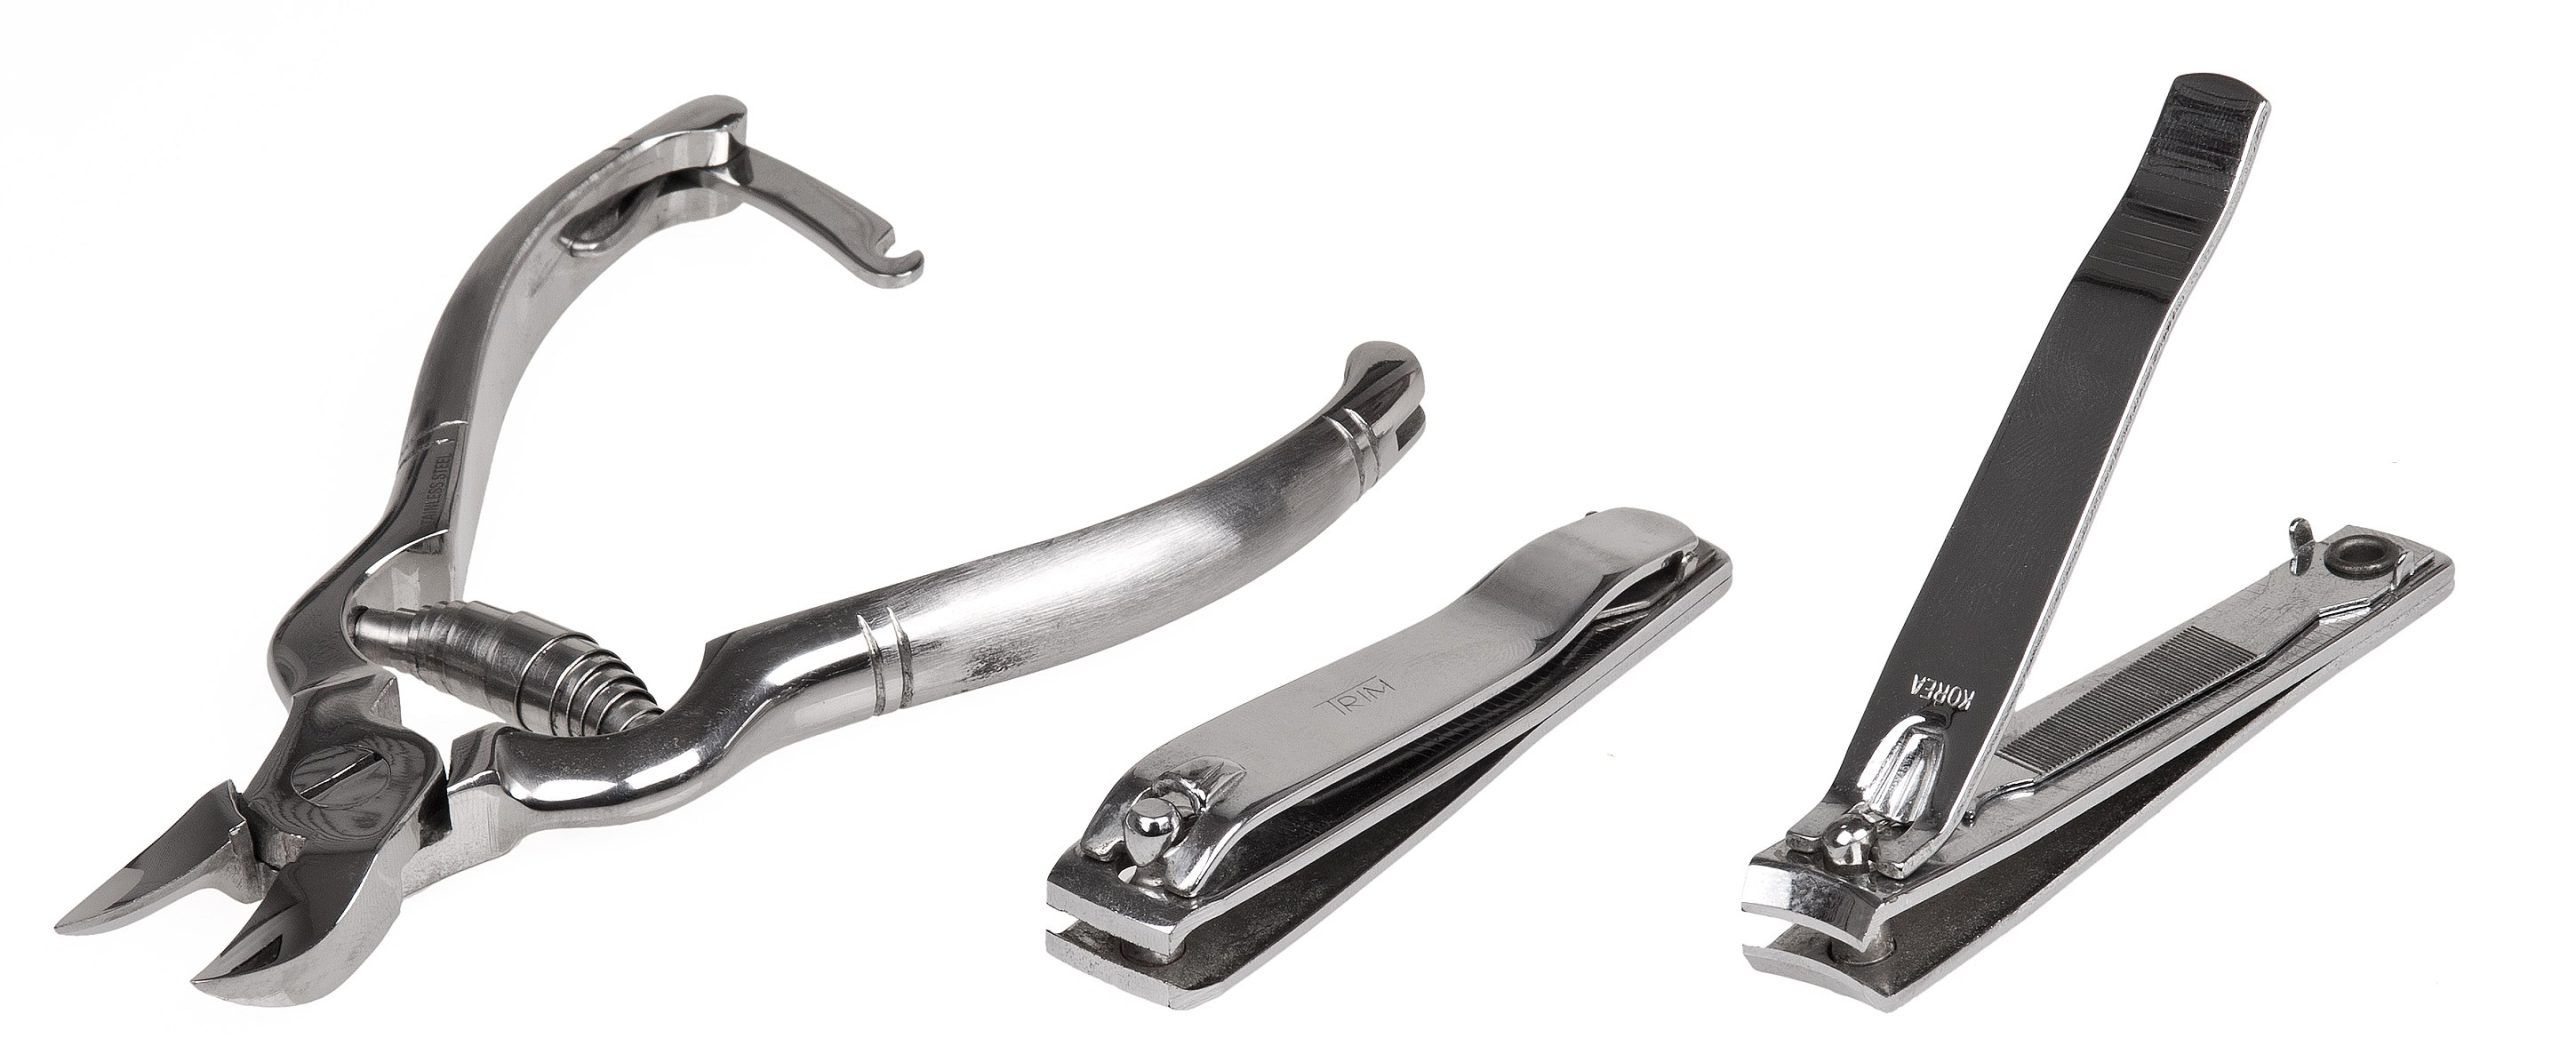
When choosing toenail clippers, prioritize features like sharp, curved blades and ergonomic handles for clean cuts and comfort. Opt for surgical-grade stainless steel to ensure durability and resistance to corrosion. Investing in quality clippers, typically priced between $20 and $50, can prevent future nail issues and save money in the long run.
Key Features Overview
Choosing the right toenail clippers is essential for achieving a professional-quality pedicure at home. Prioritize clippers with sharp, curved blades for clean cuts, which help reduce the risk of ingrown nails and prevent jagged edges that can cause discomfort or infection.
Ergonomic handles are another crucial feature. They provide a comfortable grip, better control, and minimize the risk of slippage, making the trimming process smoother and safer. This is especially beneficial for those with limited hand strength or dexterity.
For cutting thicker toenails effectively, opt for clippers with strong leaf springs or double spring mechanisms. These features offer improved leverage, making it easier to clip through tough nails with minimal effort.
Material and Durability
To ensure your toenail clippers last and perform optimally, opt for those made of surgical-grade stainless steel. This material offers durability, strength, and resistance to corrosion, making it perfect for long-term use and maintaining hygiene. Investing in high-quality nail clippers means securing a reliable tool for effective toenail care.
Select clippers with sharp blades and a curved edge for clean cuts and reduced risk of ingrown toenails. An ergonomic handle is also essential, providing comfort, reducing slippage, and offering better control for precise trimming.
While quality clippers may range from $20 to $50, this initial investment can prevent future expenses related to nail issues caused by inferior tools. Features like strong leaf springs and diamond dust coatings further enhance cutting power and longevity, making them a worthwhile investment for dedicated foot care. Choosing the right clippers ensures your nails remain in excellent condition.
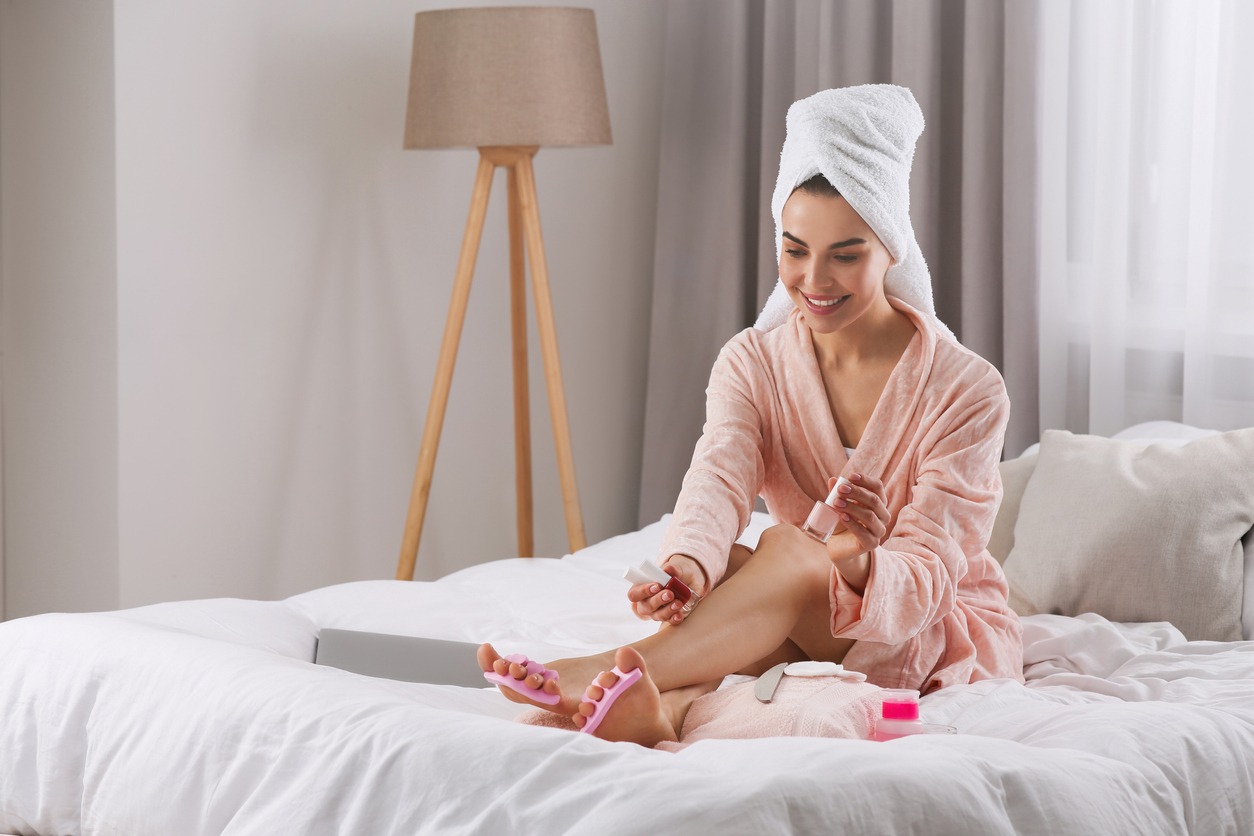
Preparing for Your Pedicure
To begin your pedicure, gather all necessary supplies, such as a gentle nail polish remover, nail clippers, a soaking basin, and other essential tools. Start by removing any existing polish to ensure a clean base for the new application. Next, soak your feet in warm water for several minutes to soften the skin and nails, making the process more comfortable and effective.
Gather Necessary Supplies
Start your pedicure by gathering essential supplies: high-quality toenail clippers, a nail file, cuticle oil, a soaking basin, and moisturizing cream. These items are crucial for achieving a professional-looking pedicure at home. Organize your workspace by ensuring it is clean and clutter-free. Lay out a towel for drying your feet and keep all your tools within easy reach. This setup will streamline the process and enhance your pedicure experience.
Before you begin, remove any old nail polish the night before to prevent damage and allow your nails to breathe. When you're ready to start, prepare a soaking solution with warm water. Enhance this by adding white vinegar and mouthwash, which will disinfect and deodorize your feet while you soak.
Apply gentle cuticle oil or lotion to your toenails before clipping to maintain moisture and promote healthier nails. This step is essential for avoiding dryness and brittleness. With all your necessary supplies in place, you'll be well-prepared for the next steps, ensuring a smooth and effective pedicure process.
Soak Feet Thoroughly
Begin your pedicure by soaking your feet in warm, soapy water for 15 to 30 minutes. This essential step relaxes your muscles and softens the skin, making foot care easier. For enhanced benefits, add Epsom salt to the water; it soothes tired feet and provides magnesium, promoting further relaxation.
To ensure cleanliness, mix in 1 cup of white vinegar and 1 cup of mouthwash. This combination deodorizes and prevents bacterial growth, leaving your feet fresh and clean. Ensure your soaking basin is large enough for both feet to fully immerse in this relaxing ritual.
Use this time to disconnect from devices and embrace the self-care experience. Close your eyes, take deep breaths, and let the warm, soapy water work its magic.
| Benefits | Emotions Evoked |
|---|---|
| Softens Skin | Comfort |
| Relaxes Muscles | Calm |
| Soothes Feet | Relief |
| Prevents Bacteria | Freshness |
| Boosts Well-being | Serenity |
Enjoy a few moments of tranquility before moving on to the next step of your pedicure.
Remove Old Polish
Start your pedicure by using a gentle, acetone-free nail polish remover to effectively dissolve the old polish without causing dryness or damage to your nails and cuticles. Ensure your nails are clean and dry before applying the remover to facilitate better absorption.
Soak a cotton ball with the nail polish remover and press it onto each nail for a few seconds. This allows the remover to break down the polish, making it easier to wipe off without excessive rubbing. Gently wipe the cotton ball from the base to the tip of your nail, ensuring all traces of polish are completely removed.
Once the old polish is removed, wash your hands and nails thoroughly to eliminate any remaining residue from the remover. This step prepares your nails for the next stages of your pedicure, ensuring the new polish adheres smoothly and lasts longer. Clean nails are essential for achieving a professional-looking finish. By following these steps, you'll set a solid foundation for a flawless DIY pedicure.
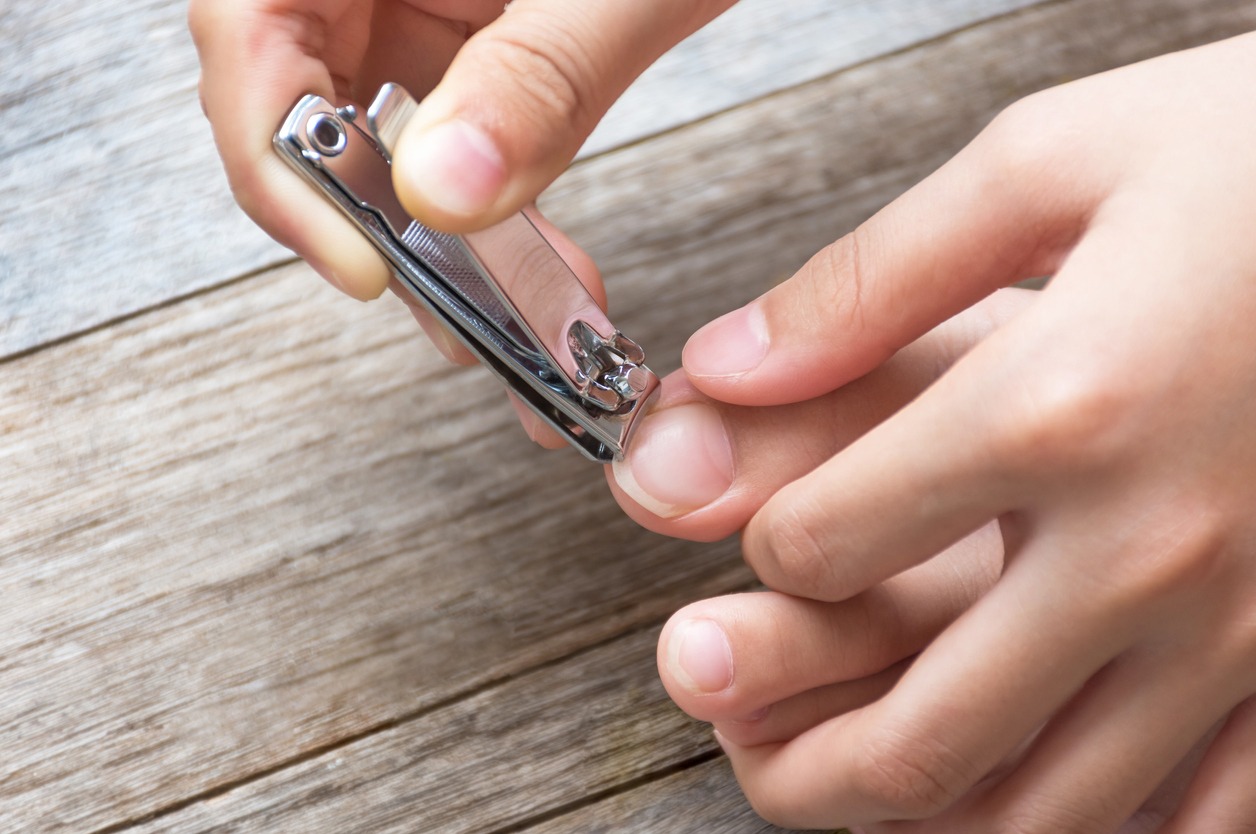
Proper Clipping Techniques
Using stainless steel toenail clippers ensures durability and precision, helping you prevent nail damage and ingrown nails. To clip your toenails effectively, start by trimming them straight across, leaving a small white tip. Avoid rounding the corners, as this increases the risk of ingrown toenails. Make 3-4 controlled cuts per nail, starting from one corner and moving to the other. This method prevents excessive pressure on the nail bed, reducing the risk of damage.
After clipping, use a nail file or emery board to smooth any rough edges, focusing on the corners to prevent snags or splits. However, avoid filing too aggressively, as this can cause cuticle bleeding. Regularly inspect your clippers for sharpness and cleanliness to avoid complications like infections.
Here's a quick reference table to help you master the technique:
| Step | Details |
|---|---|
| Clippers | Use stainless steel for durability and precision. |
| Clipping Style | Clip straight across to avoid ingrown toenails. |
| Cut Control | Make 3-4 controlled cuts per nail. |
| Smoothing | Use a nail file to smooth rough edges, focusing on corners. |
| Maintenance | Regularly check clippers for sharpness and cleanliness to prevent complications. |
Managing Cuticles Safely
After perfecting your clipping technique, it's equally crucial to manage your cuticles safely to promote healthy nail growth and prevent infections. Start by soaking your feet in warm water to soften the cuticles, making it easier to gently push them back without causing damage. Use a suitable tool like a cuticle pusher to avoid injury. By pushing your cuticles back, you create a neat appearance while maintaining skin health.
If you notice overgrown cuticles, trim only the excess, but be cautious. Over-trimming can lead to pain and increase the risk of infection, so trim sparingly and focus on keeping the area tidy. Managing cuticles safely involves more than just trimming. Clean under your toenails with a specialized instrument to remove dirt and bacteria, which helps prevent infections.
Hangnails can be another issue. Remove them by gently trimming at the base of the skin. Never pull or yank hangnails, as this can cause injury and further tearing. Finally, rinse your feet with clean water after cuticle care to ensure cleanliness and prepare for the next stages in your pedicure routine.
Exfoliating and Smoothing
To maintain smooth and healthy feet, exfoliate using a foot file or callus stone. This step is crucial in your at-home pedicure routine. Start by soaking your feet in warm water for about 10 minutes to soften the skin. Then, gently smooth out any rough or callused areas with the foot file or callus stone, focusing on your heels and the sides of your toes where dry skin often accumulates.
For an effective exfoliation, you can also prepare a simple sugar scrub by mixing equal parts sugar and either coconut or olive oil. This mixture not only removes dead skin but also hydrates your feet. Apply the scrub in circular motions, paying extra attention to areas that need more smoothing.
Regular exfoliation helps prevent the buildup of calluses and keeps your feet soft and healthy. Be careful not to overdo it, as excessive trimming can increase the risk of infection. After exfoliating, rinse your feet thoroughly to remove any residue. This routine will leave your feet refreshed and prepared for the next steps in your pedicure process.
Post-Clipping Nail Care
To ensure your newly clipped toenails remain healthy, start by washing your hands and feet to remove any debris and minimize the risk of infection. This critical step in post-clipping nail care maintains cleanliness and prepares your nails for further attention.
After washing, use a nail file to smooth any rough edges left by the clippers. This helps prevent snags and potential injuries, ensuring your toenails stay in optimal condition.
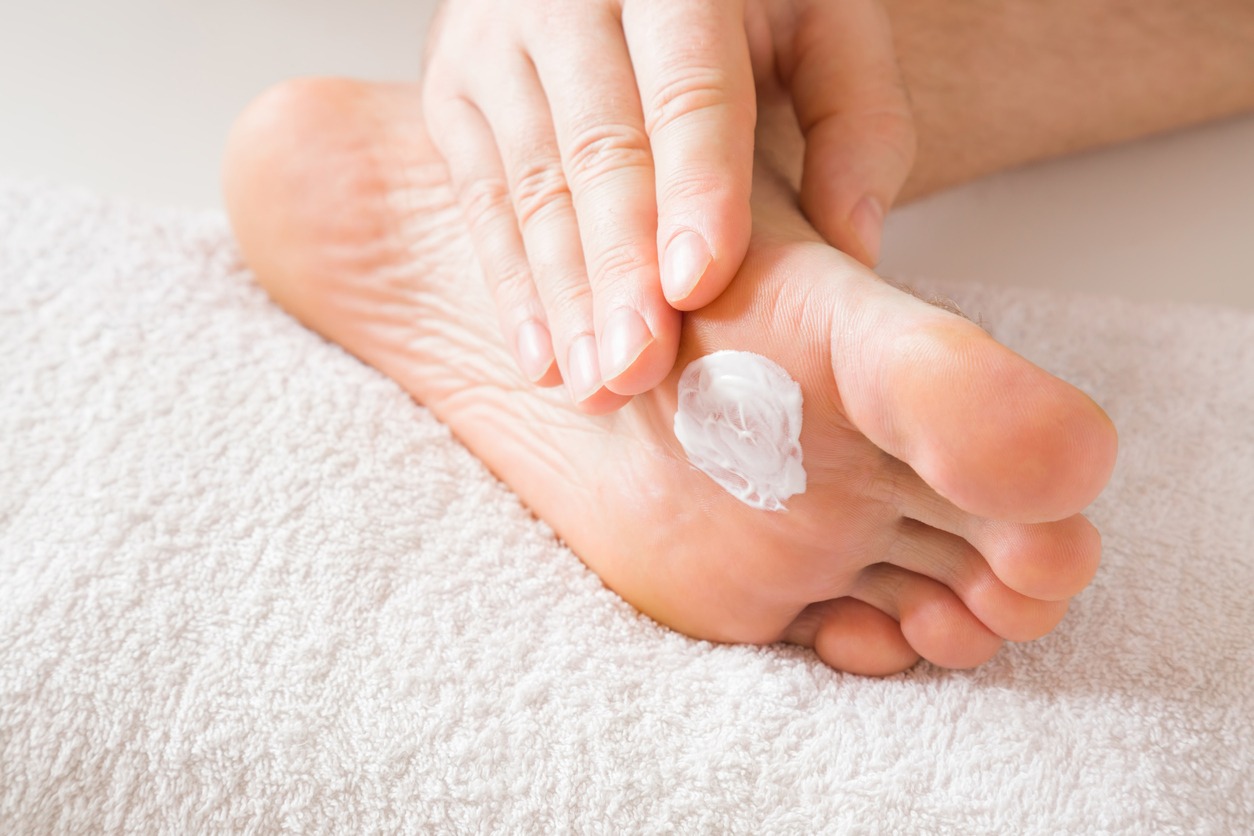
Next, moisturize your nails and cuticles with a rich moisturizer. Keeping them hydrated promotes healthy growth and prevents dryness and cracking. Regular trimming every 1-2 weeks is essential to maintaining nail health and avoiding issues like breakage or ingrown toenails.
Keep an eye out for any signs of infection or abnormalities, such as redness, swelling, or pain, which may require professional advice. Monitoring your toenails post-clipping allows for early detection and prompt treatment of any issues.
Adding Finishing Touches
To ensure your DIY pedicure looks professional, focus on the essential finishing touches. Start by confirming your nails are clean and free from any residual moisturizer. Use a cotton ball with alcohol to wipe down each nail; this helps the polish adhere better. Next, apply a strengthening base coat to each nail to enhance nail health and prevent staining from darker polishes.
Once your base coat is dry, apply two thin layers of your chosen nail color. Allow each coat to dry completely before applying the next to achieve an even finish. This step is crucial in your pedicure routine to ensure the color remains vibrant and smooth.
After your nail color is fully dry, apply a top coat. This protective layer enhances shine and significantly reduces the risk of chipping, extending the life of your pedicure. For added precision, use an emery board to gently smooth any rough edges after the polish has dried.