Fall Crafts for the Elderly
Fall crafts are great for the elderly of different ability levels. They’re perfect for your senior activities calendar. Art supplies for these crafts can be very affordable too. You can modify these projects to suit your needs and provide a little help as required. You can also ask family, friends, members, and people you know to donate items they don’t want.
Fall crafts also are a beautiful gift that you can make for your family members and loved ones. There are many great fall craft ideas that you can use for other holidays and seasons as well, with just a few changes. Here is a list of some of them:
Easy Fall Crafts for the Elderly
1. Pine Cone Hanger

Pinecone hangers are perfect for hanging on a door, on the wall, or in a window. Fall crafts for the elderly that involve items from nature also offer an excellent excuse for going outdoors and collecting, as able. If you are not near a pine cone area, you can also find them in thrift stores, garage sales, craft stores, or donated by others.
Things You Will Need:
- Two or three pine cones in different sizes (with stems on top).
- A dried plant, pod, flower, etc.
- Decorative fall ribbon.
- Cord, yarn, thread for hanging.
- Scissors.
- Glue gun, tacky glue, or strong craft glue.
- Thumbtack or push pin, as needed.
Depending on your group’s ability, fall crafts for the elderly may require a little help with some steps. First, you need to cut a length of string, yarn, or cord to hang the pine cones. You can use some glittery gold string for this purpose. The size should be long enough to run from the bottom cone, up the back of the larger cone, and then plenty of room on top for tying a loop for hanging.
You can cut 18 inches of string. Tie the bottom of the rope around the stem of the lower pine cone. Or attach it with a thumbtack or strong glue if needed. Run the yarn up the back of the larger pine cone, then tie it around its stem. Put a dab of glue around the knots to keep them secure and dry. Lastly, tie a loop at the top of your string for hanging.
Now cut a generous length of decorative ribbon and tie it around the string at the pine cone’s top or around the pine cone itself. It depends on the type of cone you have.
2. Pine Cone Napkin Tie
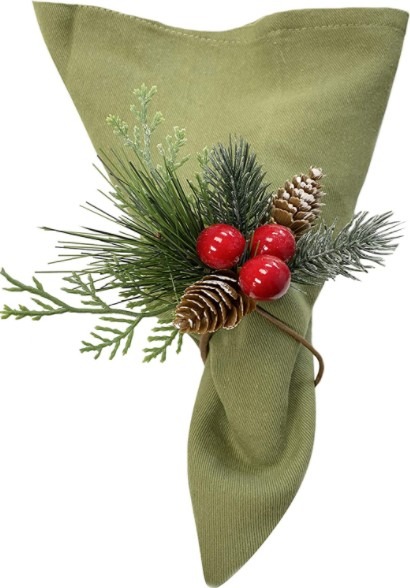
If you need decorations for a particular party, lunch, or dinner, why not do some fall crafts for the elderly to help make them.
Things You Will Need:
- Napkins in fall colors.
- Decorative fall ribbon.
- Pinecone with a stem.
- Cord, string, narrow ribbon, and/or yarn.
- Dried pod, plant, or flower.
- Tacky glue or another strong adhesive.
First, tie string or cord on the stem of the pine cone and make a loop. You can also use an optional dab of glue to secure it to the pine cone. Let the glue dry. Cut a length of decorative fall ribbon at least 18 inches long. Slide the ribbon through the loop on your pine cone. Tie the ribbon in a bow around the napkin, arranging the pine cone, so it hangs in front. Now slip a dried flower or pod into the ribbon at the top. And you are done.
3. Easy Gourd Ghost
These cute ghosts are versatile and easy to make. Although it is made of a simple paper napkin, you can also make it fancier using a white lace square instead. You could also use a nice cloth napkin, satin fabric, whatever you have.
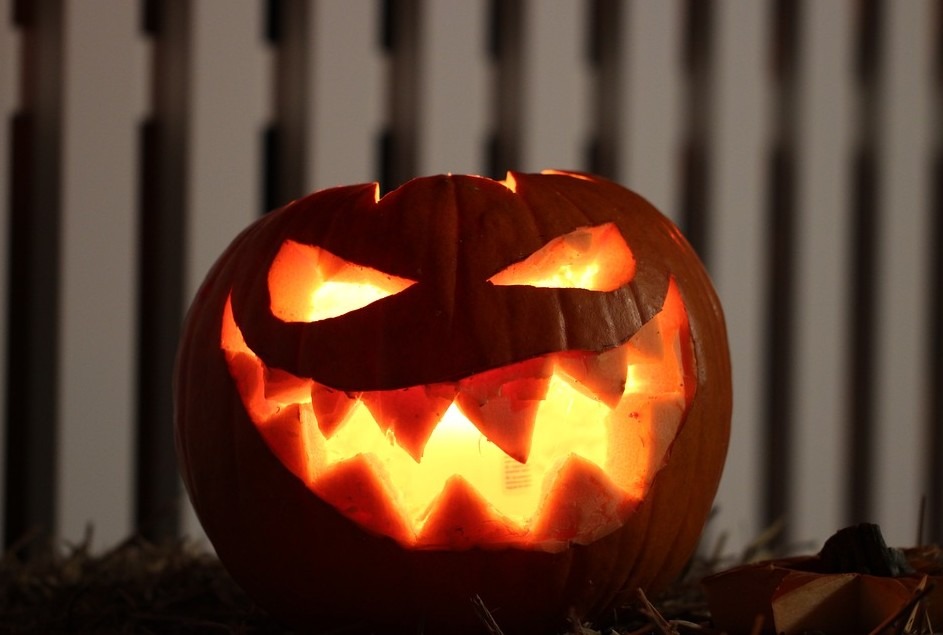
4. Pumpkin Guy (or Gal)
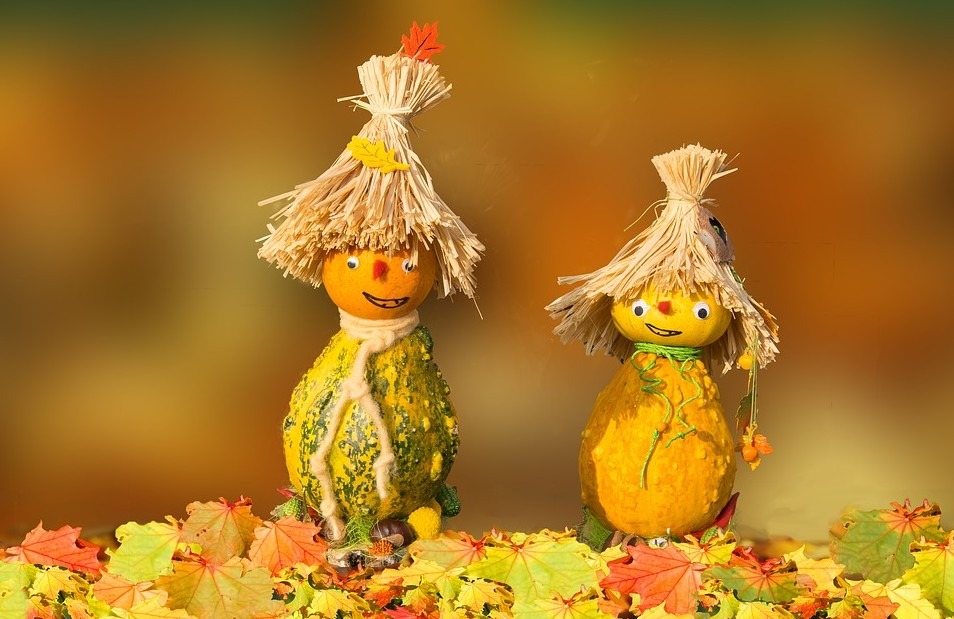
It is simple to make a Pumpkin Guy or a Gal as you only need a few basic things. Using pumpkins is popular with fall crafts for the elderly; they’re not just for Halloween!
Things You Will Need:
- Pumpkin, or smaller orange squash.
- Acrylic paints.
- Black fine-tip marker.
- Spanish moss (craft store) for hair or curly ribbon, fake fur, doll wig, etc.
- Paintbrush and water container.
- Plastic picnic plate for the palette.
- Tacky glue or other strong glue.
- Pins with round heads.
- Stand for the pumpkin (i.e., small dish or jar cap).
- Bow tie or other accessories.
First, paint a simple face on the pumpkin. Acrylics tubes are the easiest. You can squirt them onto a small plastic picnic plate as a palette. Let the paint dry for a few minutes. Attach the hair around the pumpkin stem, which will help in holding it on. Put several dabs of glue on the top of the head, then press the hair into place. You can also use long, round-tipped pins to help hold the hair on if needed.
Place the pumpkin on its stand. You can use small plastic dishes. A cap to a bottle or jar can also work if the pumpkin is not too large. Lastly, attach an old bow tie (or regular tie, which will drape out onto the table). Humorous wild printed ties look great with these characters. If you do not have access to a tie, try a thrift store or garage sale. Or you can cut the collar off an old shirt. You may have other ideas. Now he’s ready to dress up a table or mantle.
For A Girl
Use more Spanish moss for hair, tumbling down the sides of the head. Top it with a bunch of curly ribbons or a bow. You can also paint the cheeks and mouth pink instead of red and put eyelashes on the eyes’ corners. Tie a scarf or ribbon around its stand to decorate. Or even an old necklace or bracelet.
5. Autumn Ornaments
One of your fall crafts for the elderly can be making ornaments. And this one is made from an old Christmas ornament, painted orange, decorated with a piece of metallic garland.
They can hang on an old tree branch standing in a small pail or container full of rocks to prop it up right. Or turn them in windows or on a door. These also would look cute with a table place setting, tied around a napkin.
You can also think of leaves as a long football shape.
Things You Will Need:
- Any plain round ornament can be painted or a gold ornament (which can be used unpainted)
- Acrylic paints (i.e., orange-yellow, black, brown)
- Black fine-tip marker (optional)
- Small piece of sponge, about 1-inch square
- Water container
- Coiled foil metallic garland, craft store
- Artificial leaf, or dried flower or pod
- Cord, string, yarn for hanger
If you have a gold-colored ornament, you don’t need to paint it because it looks nice as it is. If you want to paint your ornament orange, you can do sponge painting as it is straightforward and fast. Hold the ornament by its top hanger. Just dampen your piece of sponge, dab it in some paint, and then wipe the color onto your ball until covered. Let it dry. I set it in a bottle cap as a stand for drying. You can also hang them (using a paper clip is easy). Now it’s time for the leaves.
You can keep it simple and paint only one branch and just a few leaves, or a fancier design. First, use either a marker or black paint to create jagged branches coming down in a curve from the ball’s top. Dry. An easy technique for leaves in fall crafts for the elderly is just using a simple football shape. You can also make them a little jagged on the edges if you like. Paint several leaf sizes on the branches.
If you want different leaf colors, you can mix colors to achieve the various oranges and browns. When dry, tie a cord onto the ornament, making a loop on top to hang with it. You can buy a coiled metallic foil garland fromthe craft store and snip off a piece to insert into the ornament hanger. You can also insert a small artificial leaf in it.
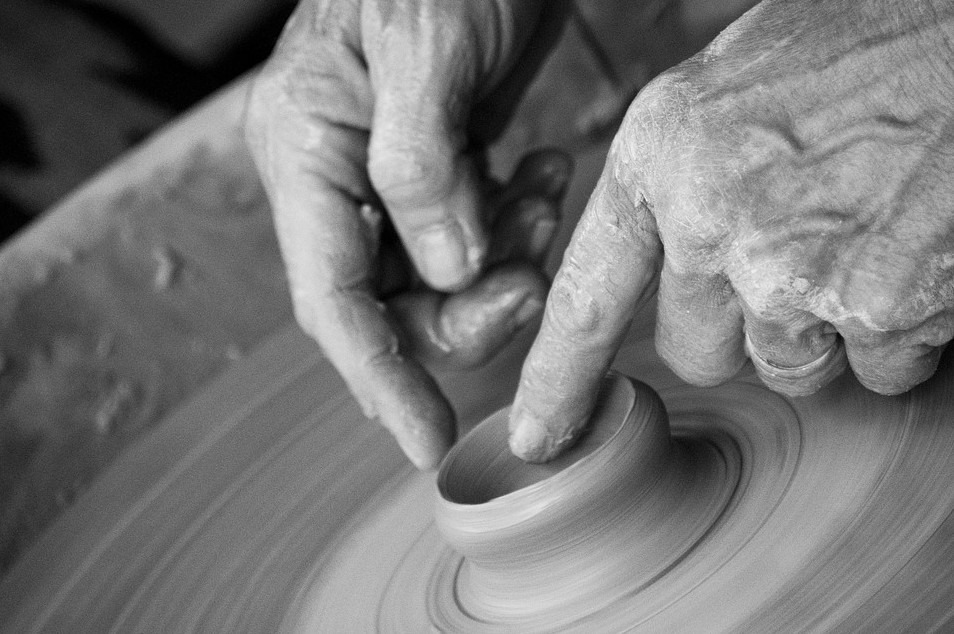
6. Painted Clay Pot
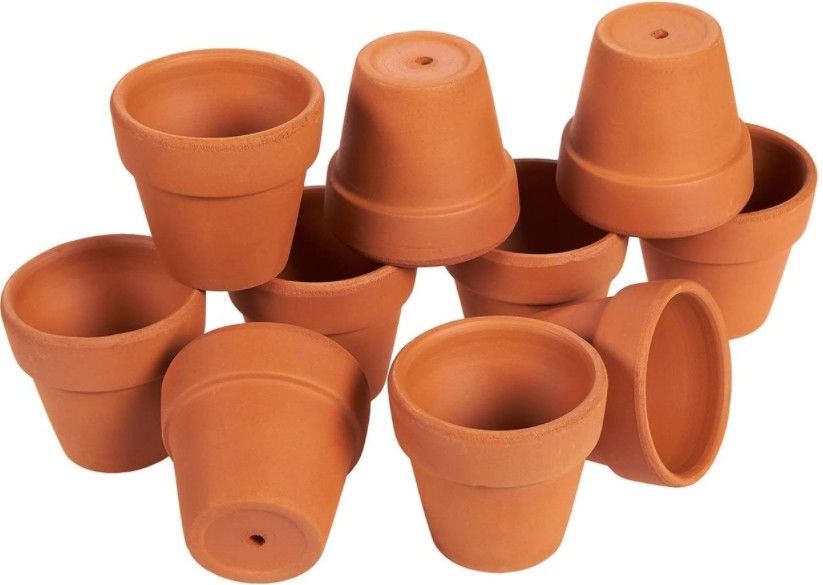
Painted terra cotta clay pots make perfect fall crafts for the elderly. Their natural orange color fits well with the season. After you paint them, they can be used for all sorts of things. You can also sit a candy dish on the top or even stand a pillar candle inside. They also look great sitting within a grapevine wreath.
Things You Will Need:
- Clay pot, preferably with tray.
- Acrylic paints and colors of your choice.
- A water container and plastic plate for the palette.
- Paintbrushes (flat tip and pointed).
- Stuff to put inside.
You can use a straightforward design for this, like a painted tan circle for the moon. Then lines of different heights for the stems of the cattails. The cattail tips are entirely long ovals. Then a few slender leaves. To decorate the tray, you can use a flat-tipped paintbrush and make short vertical strokes around the edge. You can also paint the rims, both on the pot and its tray.
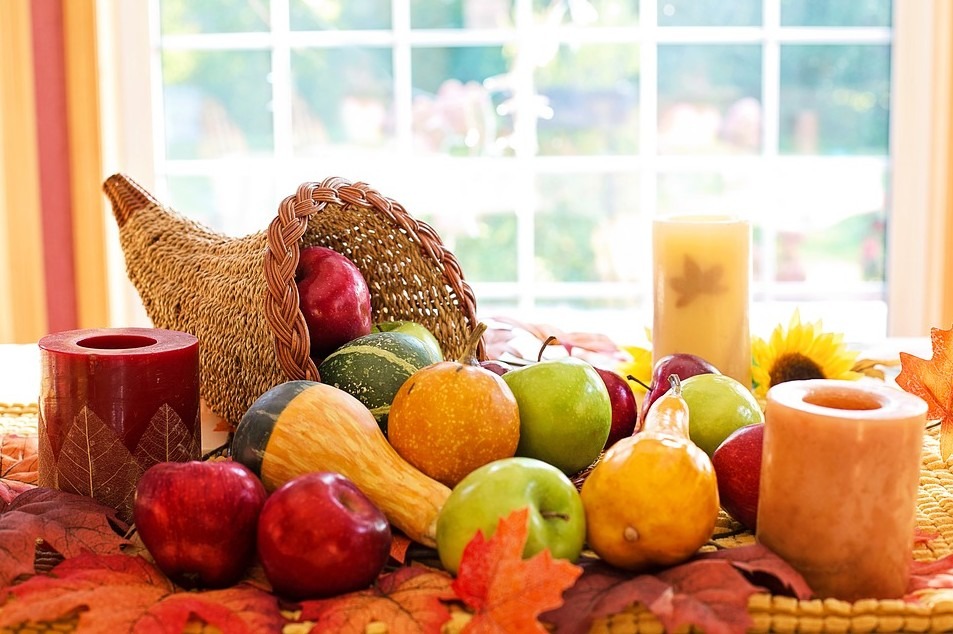
Lastly, you can fill the pot with your “stuff” – foliage, candle, candy dish, etc. They make lovely centerpieces or decorations for the middle of a large serving tray. And they’re also beautiful gifts.
7. Colorful Corn Decorations
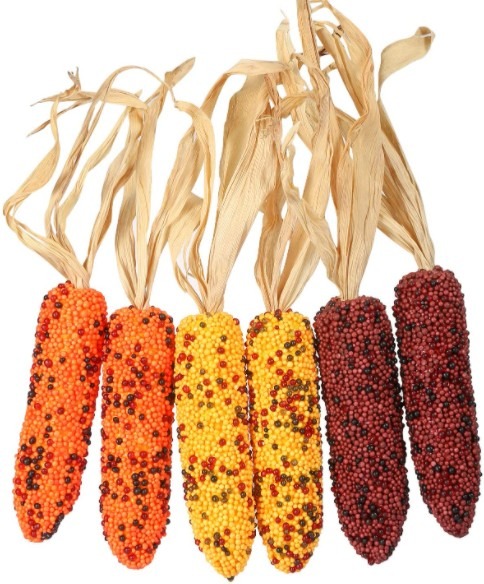
Colorful corn on the cob (a.k.a. “Indian Corn”) decorations are among the easiest fall crafts for the elderly. This corn is available at the end of summer and in the fall. Tie two or three pieces of corn around the husks with a little decorative ribbon.
You can also hang a bangle or bead or slide a dried flower into the bow. Or use 3D squirt paint to make faces. Colored corn is lovely to use for decorating a party area or home.
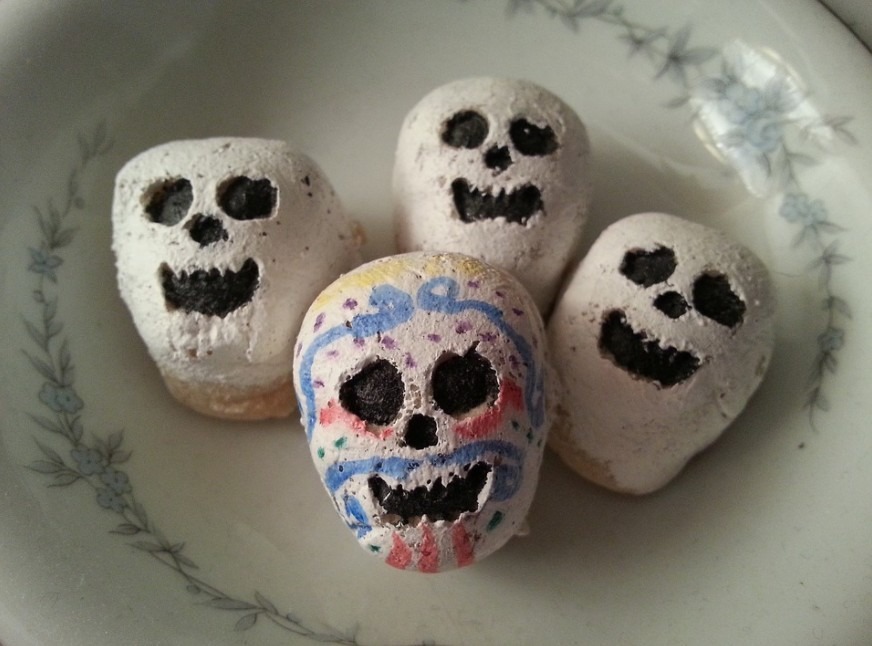
8. Autumn S’mores
Fun food items make easy fall crafts for the elderly. In this case, microwaved s’mores with a little pizzazz. Many sugar-free ingredients can also be found. You can use graham crackers sweetened with honey from the health food store or aisle.
Things You Will Need:
- Graham crackers.
- Chocolate bars (try sugar-free).
- Marshmallows.
- Red and yellow food coloring.
- Sprinkles.
- Colored toothpick (optional).
- Candy for the top.
You have to use one layer of graham crackers for these. First, mix several yellow food coloring drops with a couple of red dots in a small dish. Stir until orange. Put a cracker on a plate or several on a platter. Add a square of chocolate. The marshmallow only needs to be microwaved for 7 to 10 seconds, and it will also depend on if you’re doing several at a time. They’ll puff up and then deflate when you take them out.
Put melted mallow on the cracker with chocolate. Drizzle in a little bit of your orange food coloring, and gently swirl it with a toothpick. Add sprinkles and a toothpick with candy to the top. And you have instant party snacks.
9. Halloween Crafts
To go along with our fall crafts for the elderly, whether whimsical or elegant. You may also get ideas of your own by searching on the internet, and also find ways to use the basic concepts for other holidays and seasons year-round. These crafts can also be made differently according to the person or group you are working with, and you can always give extra help. Halloween crafts, of course, are also fun to do with kids!
10. Gourd Crafts
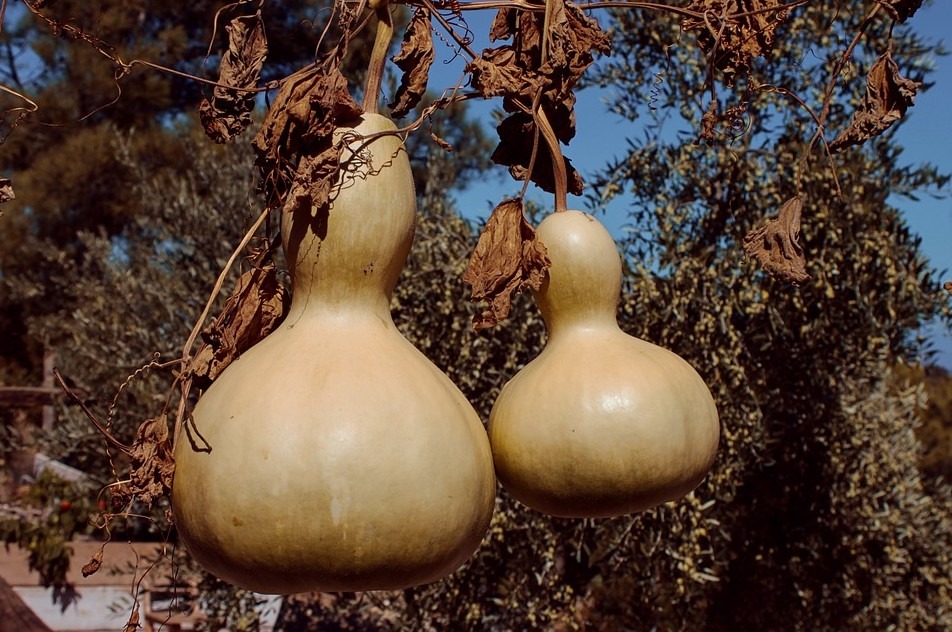
Be sure to see our fun and easy fall crafts for the elderly using gourds. We love those lumpy, bumpy kinds that seem to turn themselves into all sorts of comical characters. Our ideas are straightforward to modify and have been used frequently with dementia patients as well.
11. Apple Crafts

If you haven’t yet seen our page on apple craft projects, you may find several fall crafts ideas for the elderly. The dried apple wreath is trendy, as is the apple candle holder. And something unique is painting an apple with an opaque white marker.
(There are also a couple of items on this page with which some people might need a little help).
12. Apple Wreaths
Also, we have an easy project on the apple craft page for making a wreath out of dried apples. We show a couple of different ways to make these.
You can also change the decorations to make it a wreath for Christmas or even for the Fourth of July.
13. Painting Glass
If your loved one or group can paint on glass, we have some excellent ideas, including fall crafts for the elderly, on our page all about painting glass. The lovely autumn leaf wine glass is pictured here.
But painting a vase or bowl is very easy too. Use designs such as the fall leaves, a moon with cattails, or simple flowers in fall colors. You can get all the instructions on our page.
14. Traditional Apple Doll
If you are looking for fall crafts for the elderly that are a little fancier and challenging, try making a traditional apple doll. Nowadays, with microwaves, these are easier than ever. They require a time of about two weeks to dry the apple(s).
These dolls are still relatively easy to make, although those with limitations may need extra help. But the results are worth it! You can decorate them for any season or holiday, and with a favorite accessory too.
Having some of the Best Creams and Salves for Wound Care in your first aid kit is also a good idea in case of any small injury while working on crafts.