Easy Halloween Crafts for Seniors and Elderly
Introduction
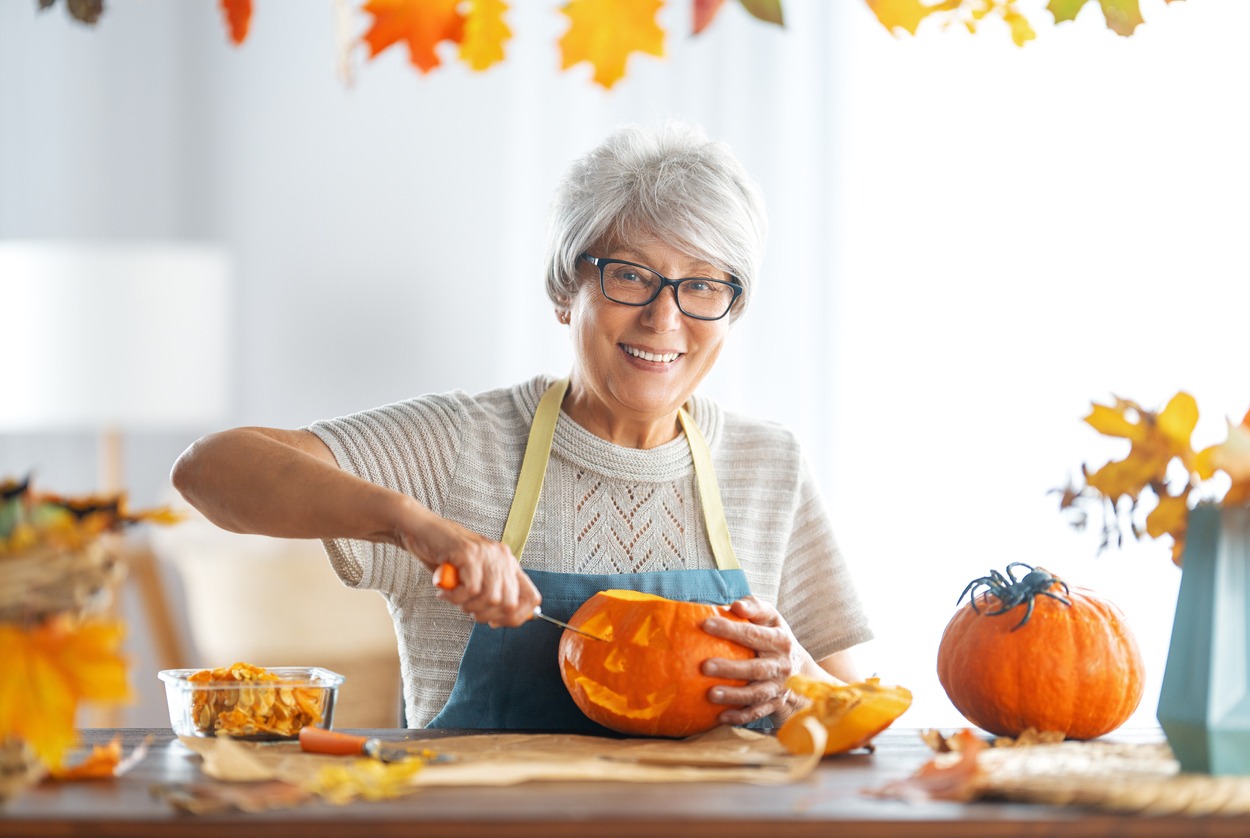
Halloween enjoys the distinction of being one of the year's largest festivals, making it an exciting time of year. Age is just a number when it comes to taking part in Halloween's joy, young or old. You might not be able to "Trick or Treat" as an adult or senior, but you can still indulge in some fun Halloween crafts to fit the festival's atmosphere.
There's also a bonus: crafts for seniors have several health benefits. Making crafts, for example, reduces stress, which leads to a stronger immune system and lower blood pressure. Other advantages include enhanced cognitive function, increased self-esteem, improved motor skills, and pain relief.
Easy Halloween Crafts for Seniors and Elderly
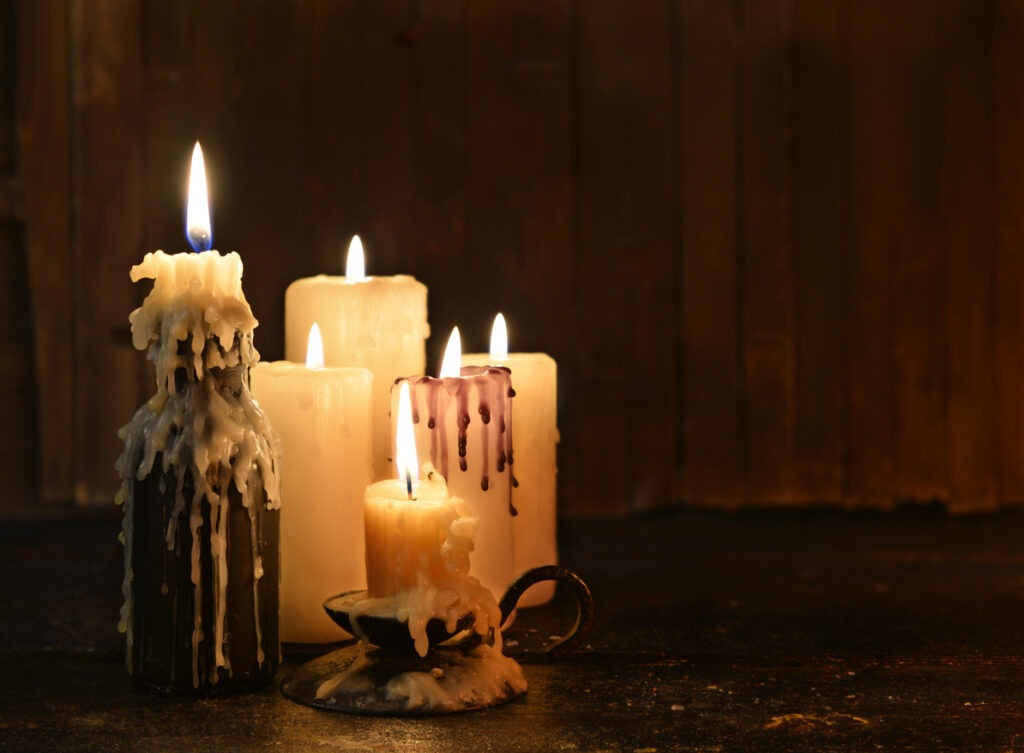
Lacy Candle
What you will need:
- Flameless (better), or no-drip pillar candle
- Black lace
- Craft glue, or spray adhesive
- Candleholder
- Water-based craft varnish (optional)
- Flat paintbrush (for varnish, if using)
How to make it:
Because regular candles can emit some heat, use a flameless candle for this project to ensure that the glue does not deteriorate. Cut your lace to size so that it will fit and wrap tightly around the candle, with a 12-inch overlap in the back. (Because a pillar candle is fairly straight, there should not be much gapping).
After that, make small dots of glue along the lace's edges and on the overlaps and press them firmly in place. You could also use spray adhesive on the back of the lace.
When the lace is dry, apply a coat (or two) of water-based craft varnish over the entire piece.
The varnish ensures that the lace remains flat and in place. Thoroughly dry. The candle should then be placed in a black candle holder. It can also be displayed in a small Halloween garland or candle ring.
Golf Ball Owl
What you will need:
- 1 golf ball
- 3-4 white craft feathers (or make “feathers” from paper)
- 2 googly eyes (or make eyes from paper)
- Black, and orange paper
- Jar cap for stand
- Scissors
- Glue gun or strong craft glue
How to make it:
Wash and dry the golf ball first. Fold a square of orange paper in half and cut out two simple foot shapes for the feet. Attach the cap/stand to the feet with glue.
For the Beak, place the golf ball on its stand to keep it stable. Another small square of orange paper should be folded in half. Form the beak by cutting a triangle shape on the fold. Flatten the fold slightly so that it can be glued to the ball.
To make the eyes, fold a square of black paper in half and cut out two outer eye shapes. They are circular in shape with a flare at the top. The outer eyes should be much bigger than the googly eyeballs. Glue the black outer eyes above the beak to the ball. Then, in the centers, glue the googly eyes. Finally, glue a feather wing on each side of the owl, as well as a few feathers on top of the head.
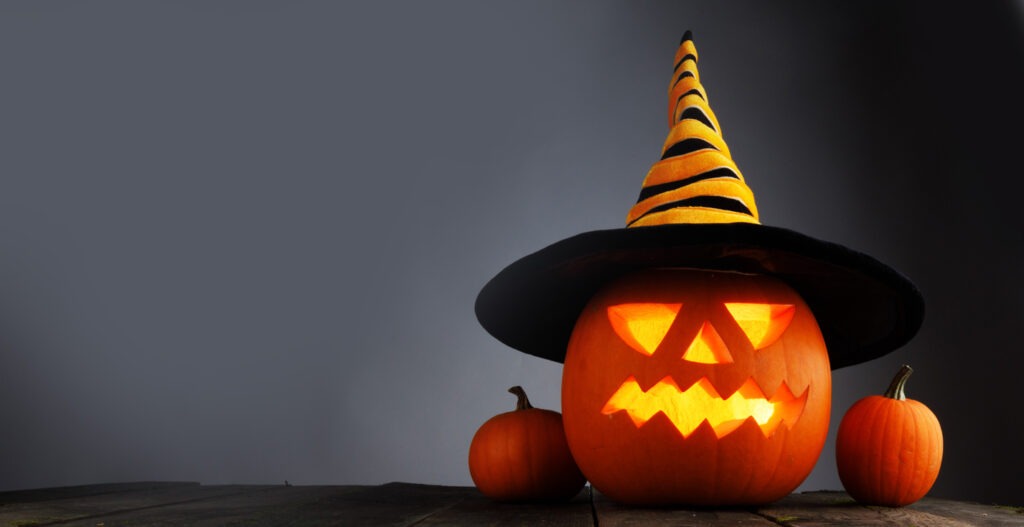
Fancy-Hat Gourd Witch
What you will need:
- A dark gourd
- A witch hat
- Decorations for the hat (flowers, baubles, feathers, rhinestones)
- Raffia
- Googly eyes
- Pom-Pom for nose
- 3-D squirt paint, or acrylics
- Glue gun, or craft glue, like Tacky Glue
- Small dishes, or other stands
How to make it:
To begin, tie many strands of raffia around the stem of the squash to make the hair. To make the hair thicker, repeat the process with two batches of raffia. Spread the hair out. After that, apply glue to the eyes and nose and allow it to dry. Then, using the 3-D paint, squirt a smiling mouth. You can also use acrylics and a brush. Simply decorate it with whatever you have on hand. Make sure to thoroughly glue on all of the pieces. Place the hat over the stem, which will help keep the hat in place. Then place the witch on a stand.
Painting Clay Pots
What you will need:
- Clay pot and tray, your choice of size
- Acrylic paints – black, gold
- Paint brushes, rag, water container
- Artificial foliage, pinecones
- Black roses (optional)
- Black decorative toothpicks
- Black ribbon
How to make it:
First, clean and wash the clay pot to remove any residue from its surface. After it has dried, paint your design in acrylics. Simply paint a round moon in gold with a couple of black bats for this one. Make an edging of square dots and dotted lines around the upper and lower rims with a flat brush.
Now add foliage, black roses, frilly black decorative toothpicks, and a black ribbon curling down the side of your pot. Or anything else that comes to mind.
Witch Broom

What you will need:
- Black decorative Halloween toothpicks
- Long kebab skewer
- Black ribbon
- Strong tape
- Orange acrylics and brush
- Bead for the top of a broomstick
- Glue, if needed
How to make it:
Make an orange kebab skewer. When the skewer is dry, gather about 6 fancy toothpicks around it and secure them with tape. Wrap the ribbon around the tape. If you have a decoration on a stick, such as the orange bauble, trim the stick to 1 or 2 inches long. Insert the stick beneath the ribbon. You can secure it with a dab of glue. Glue on your other decoration if necessary. Finally, attach the bead to the broomstick's top. You can also apply some glue to keep it in place.
Halloween Lantern
What you will need:
- Hurricane style lantern
- Black artificial roses, or other foliage
- Black feather
- Halloween-themed candle, flameless if possible
- Black ribbon
- Fake cobwebs
How to make it:
It's simply a matter of putting together the various components of your centerpiece. Insert your candle into the lantern first. On one side, tie a curly black ribbon. Then, around the base, arrange your artificial flowers. Insert the feather into any convenient gap or opening. Drape the lantern with cobwebs, and voilà! You now have a quick and simple piece for a table or mantle.
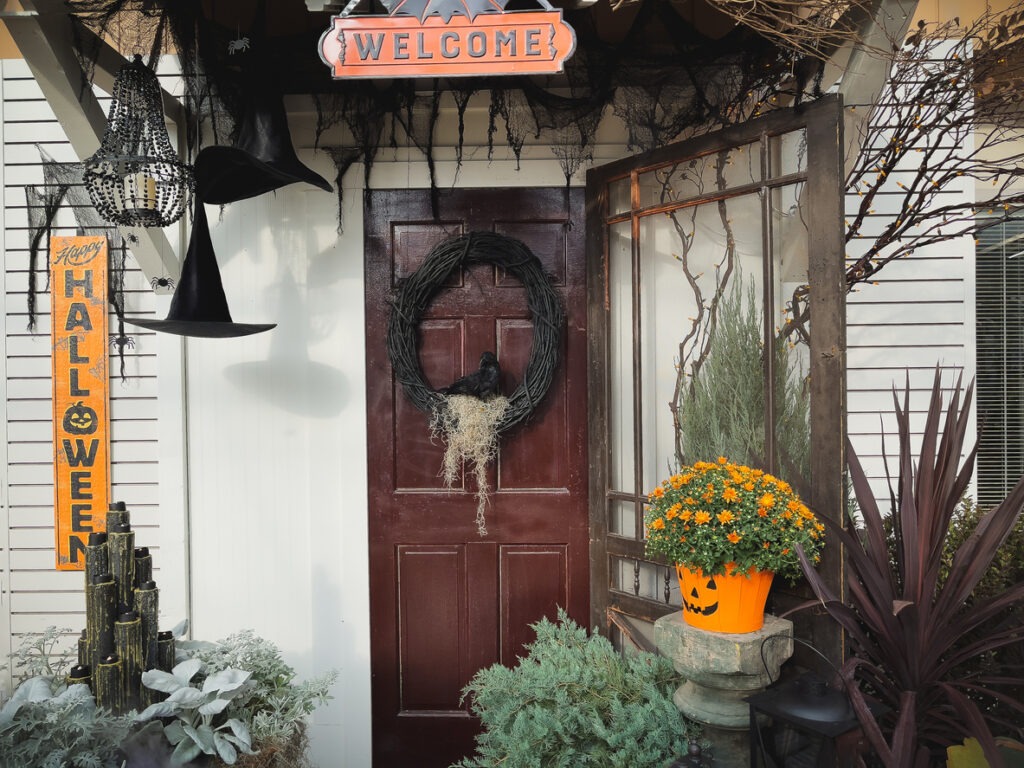
Halloween Door Hanger
What you will need:
- Black glittery artificial roses and leaves
- Small glittery balls on stalks, or other novelty items
- Black curly ribbon
- A twisty tie
- Black foil garland (any Halloween color)
How to make it:
First, gather black roses and twist them together in the upper middle. Wrap in black curly ribbon and secure with a bow. Insert upside-down stalks of glittery balls into the bouquet bundle. First hangs a loose coil of metallic black garland on the door hook before hanging it. Then drape a bouquet over it.
Hanging Colorful Corn
What you will need:
- Colored corn with husks
- String
- Wide ribbon with fall colors
- Artificial berries
- Narrow wire to attach berries
Tie two or three cobs together, husks on top, as shown. Tie them with string first, as it is easier to handle. The ribbon is then tied over that. Most artificial berries come with wire; if not, use your wire to attach them to the center of the bow. Hanging wire attached to the backs can also be used. Alternatively, use old ornament hooks.
Conclusion
Halloween is the time of year when everyone gets together to have a good time and create memories that will last a lifetime. While this is a favorite time for children, the elderly and seniors enjoy treating the children well as well. Making creepy Halloween decorations with the elderly and seniors will engage them with the family and encourage creativity.