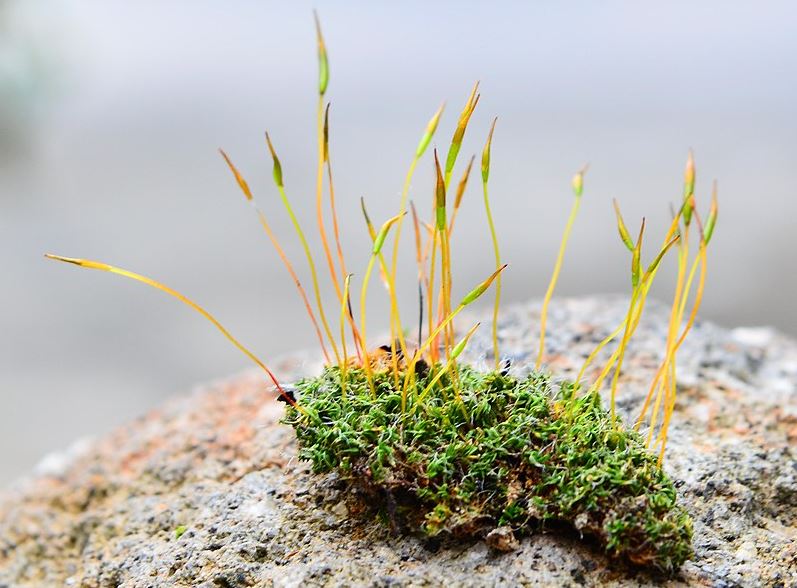
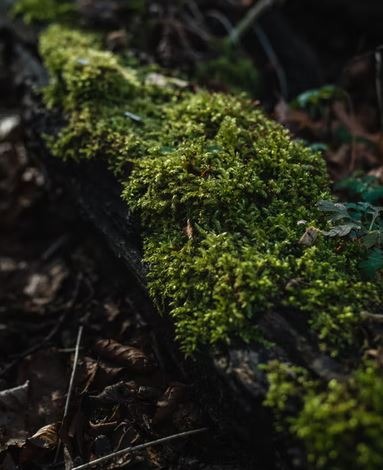
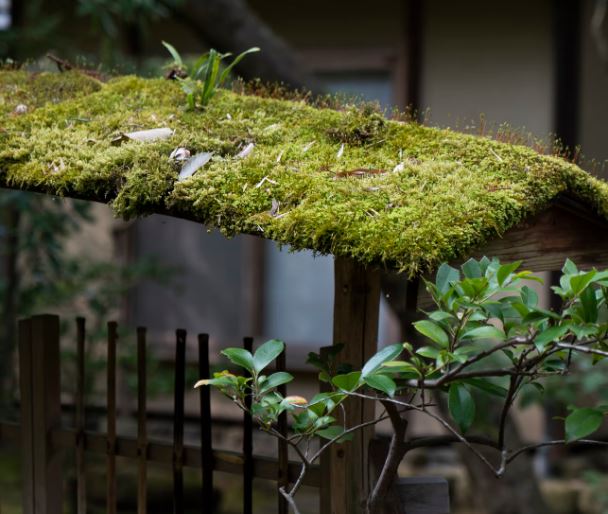
Having unusual planters in your garden makes gardening fun and adds a whimsical touch to your garden. There are many differently shaped planters out there, and one of the ways to make these planters blend in more with the garden area while also adding fun is by using moss. Moss allows the planter you choose to look like a part of the garden, but if you choose a uniquely shaped planter, it will stand out and add character to your garden.
One of the more popular shapes of planters out there is purses. Since the design of a purse allows you to hold your everyday items, it makes for a very nice shape to carry your plants as well. Many people use actual handbags as planters, but if you want your planter to blend in more with your garden and not stick out like a sore thumb, using moss and covering the planter with it is a viable option.
Let us take a closer look at how you can use moss as a planter and whether or not it is a good idea.
Why use moss
Moss is a great addition to most gardens and planters as it is good for potted plants. Therefore, if you use it in a planter, it will help absorb and retain water and nutrients. These materials will help the plants grow well and prevent them from drying out. Usually, water trickles out from the bottom of the planter before the plant can catch onto it. If moss was placed, it would help catch that water and ensure that it is saved for when the plant needs it. It allows water to reach the plant more frequently, which helps its growth.
Moss also helps make your plants and the planter look more attractive. If you use moss for your planters, then it will help give them a more decorative look and appear much more beautiful in your garden. Furthermore, moss helps cover up the harshness of soil and makes the entire planter look much more even and beautiful.
Moss is also excellent for the health of plants. It allows potted plants to be better at their job of cleaning the air. It absorbs all the toxins from the air and increases the oxygen levels around you so that you can breathe better. Moss also helps keep your plants healthy so that they may continue to fulfill their purpose for longer.
How to use moss to make a moss-covered planter
If you want to make moss-covered planters in unique shapes then the process is quite simple, provided that you have all the necessary tools and supplies you need. With these instructions, you can construct a planter of any shape. You can even make a moss purse planters if you wish.
- The supplies you will need include
- Unglazed pots
- A bag of living moss
- 2 cups of yogurt or live-cultured buttermilk
- An adequately sized paintbrush
- A blender
- A misting bottle, that is filled with water. Alternatively, you can also use a garden hose, that has a mist attachment.
First, you need to gather the pot that you would like to be the base of your mossy planter. This step is where you can get creative. The options are endless here. You can choose any item to be your planter provided that the base is porous so that the moss you use can naturally grow there. Therefore, if you want to make a moss purse planters, then you can use a purse that has a porous base. Since the moss would cover the purse itself, it would make for a unique piece.
After you have chosen your base, you have to get your moss ready. Make sure that the moss you choose is alive and not preserved or dyed. The best way is to venture out to a nursery near you. Additionally, you may already have moss in your garden, which you can use. Common moss is usually found in the shady parts of your garden.
The next step is to make the living paint, that will allow the moss to take shape of your base or planter. To make this, you have to blend 2 cups of live moss alongside 2 cups of either live-cultured buttermilk or plain yogurt. You can do so in a blender. The best way is to use the pulse option to ensure that the consistency is just right. You want your moss to have a thick and uniform consistency. Additionally, it is better if there are bits of moss still visible. Do not pulverize it completely.
Now, all you have to do is apply the paint onto the pots. The best way is to brush a thick layer onto your planter of choice. The yogurt added into the mixture will soak into the planter you have chosen and allow the moss to stick to it. Additionally, it will also provide the moisture that the moss needs to start growing.
It will take around 2 to 3 weeks for the paint to grow into a living moss carpet. To ensure that the moss grows thick, use a mister to gently mist it. It is ideal that you do it once per day. Using anything that sprays water harsher than a mister will dislodge the moss, and the layer would become uneven. You will start seeing the moss paint transform into moss within a week. Therefore, the process is rather quick.
This method of painting on moss to create a moss carpet can be done over virtually any surface, provided that it is in the shade and has enough moisture to grow. You can also create a planter out of anything that can hold the soil and plant in place. Some popular options are bags, shoes, large hats, ceramic ducks, and more.
How to make a chicken wire moss purse planter
Making live moss paint and painting it onto a ready-made planter is not the only way that you can make moss purse planters. You can also use chicken wire to create a structured purse that can act as a planter for your plants. This adds a touch of creativity and uniqueness to your gardening space.
The supplies you will need for this fun and affordable project include
- Chicken Wire
- Jute
- Spanish Moss
- Wire
- Wire cutters
- Moss sheet
- Scissors
- Hot Glue
- Plant or flowers
- Dirt
To make this moss purse planter, you will need to cut your chicken wire the width of your moss sheet. That way, it would be much easier to insert the moss sheet into the wire. To cut the wire, you will need to use wire cutters.
Now that you have your chicken wire prepared, you will need to mold it to form a bag. To do so, fold the chicken wire in half and ensure that the finished edges line up against one another.
The next step is to bend the side edges of the wire so that no sharp edges are sticking out. Once the sides are bent, you will need to secure them using a piece of wire. Wrap the wire around the side pieces that hold them together. This wire will wrap around each side of the bag so that it is secure.
When the wire is securely attached, your chicken wire bag will have formed. Now is the time when you will add your moss liner to the inside of the bag. The moss you add to the bag should be cut in a size that can easily be folded. That way, it would be easier to insert this moss into the chicken wire bag.
Once you have inserted the moss liner, the next step is to make sure that it stays in place. You can add a little hot glue onto the sides of the liner so that there is no space for the dirt to escape.
The next step is to create a handle for the moss purse planters. The best and most attractive way to do so is to use jute. Cut your jute to be around 9ft long, and use a piece of wire to connect the ends of your jute. By doing so, you will have one big loop to work with. Place this loop on open ground and place your moss bag in the center. Next, stretch out your loop and bring the ends up. Make sure that they are even at the top of your bag. To secure the jute to the bag, use some wire and loop it around both sides. The best way is to secure the jute from the top and bottom of the bag.
When your straps are secure, add in your soil and your plant. You can also add a few flowers. Then place your Spanish moss over the dirt. With this last step, your bag is ready.
You can hang this bag wherever you like, as the jute rope is strong enough to hold the bag’s weight.
Conclusion
Moss is an interesting plant that can be used to make your planters appear a lot less cold and more a part of your garden. If used correctly, you can make almost any planter look like it is growing from the group up and not a separate piece that you have added. Additionally, they also add beauty to a place. If you want to create some planters with interesting shapes. Look no further than this article.


